If you want Make a new location, make sure Location Group has been created first, Making Location Group is useful as a grouping of locations inside system to make it easier for Admins to collect data.
In this section, You can learn :
1. How to make a group grouping.
2. How to add location.
1. How to Make a group grouping.
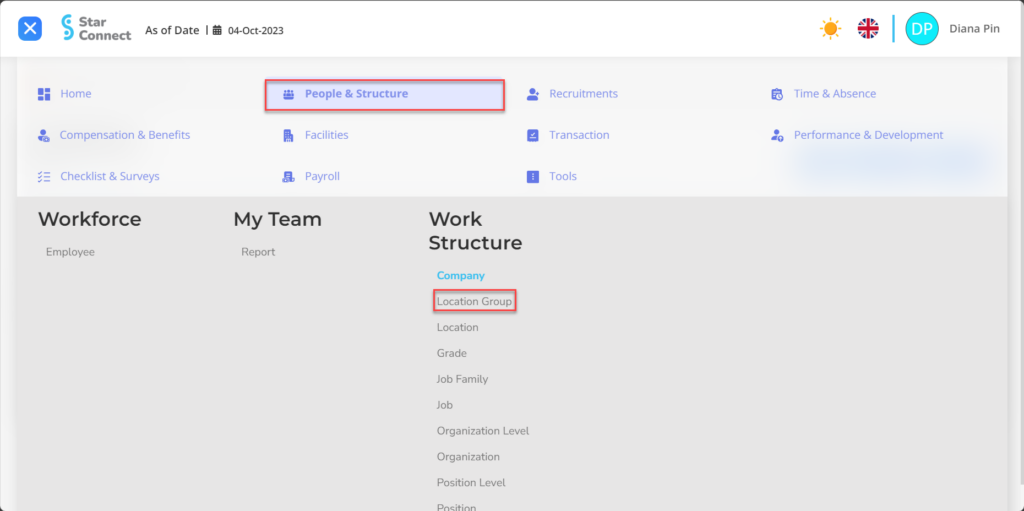
- On the Menu Work Structure → Select Location Group.
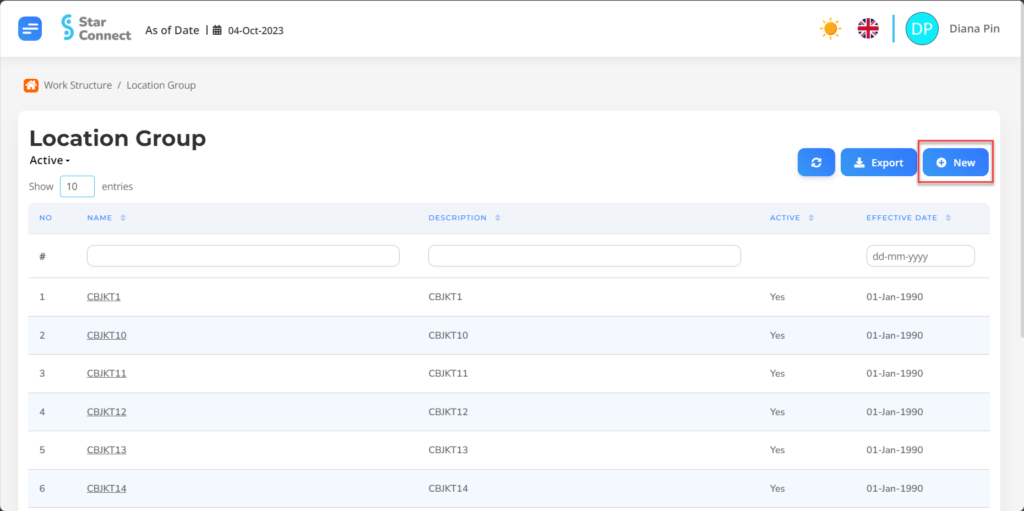
- Click the button Create to register companies that will be associated with employees.
- In part General, Fill in data Like the type of company place (example : Head Office, Branch Office), Click Slide “Active” When the address is still in status active.
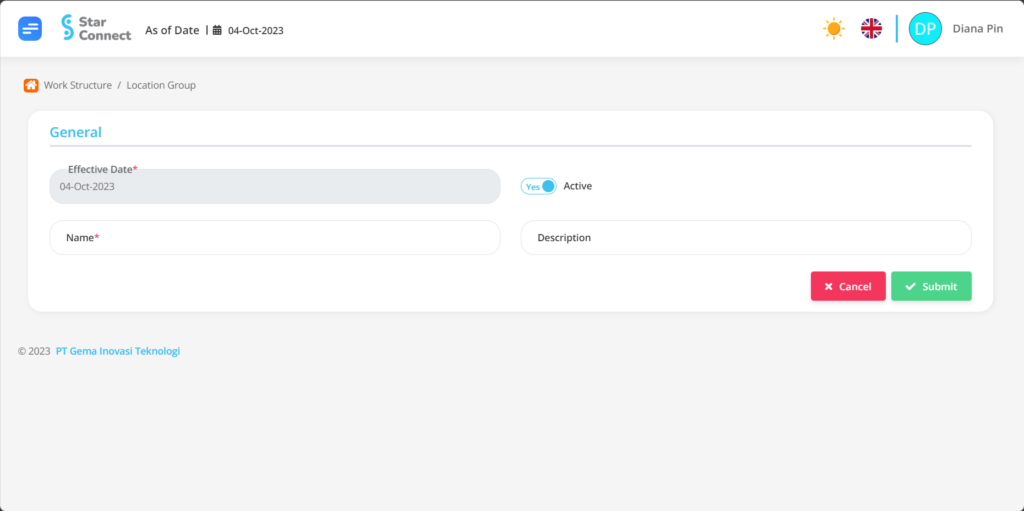
- If you have entered all the Company information, then the final step is to do it save with a click button “Submit” At the bottom of the Location Group page.
2. How to Add location.
🔥IMPORTANT! It should be noted if you want to create a new location, make sure Location Group has been created first.
If the location group has been created, You can continue to the stages to make a more detailed location system, the steps are as follows :
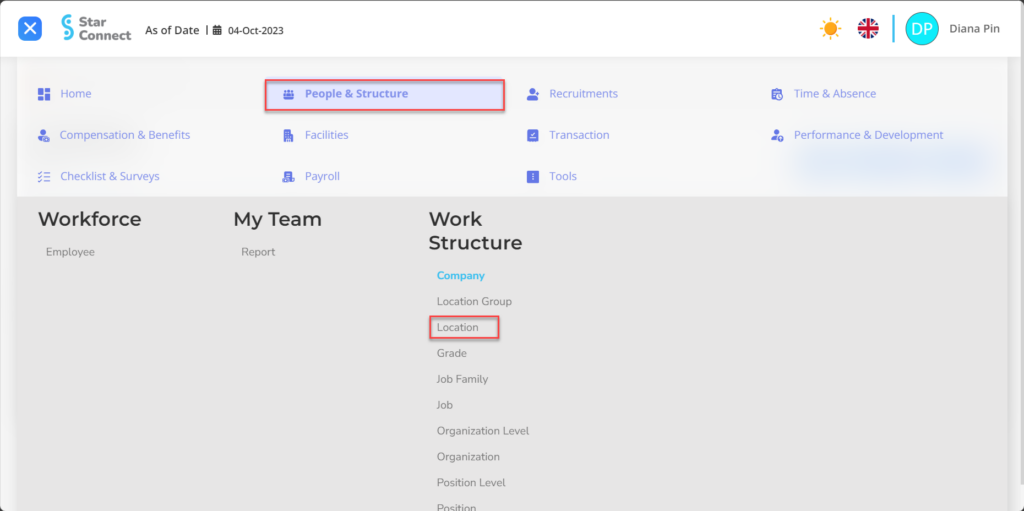
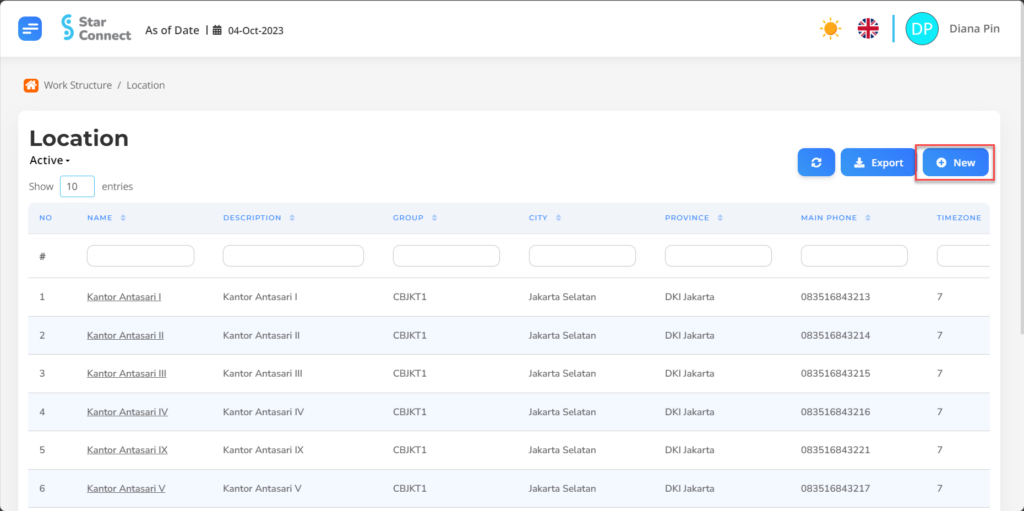
- On the Menu Work Structure → Select Location.
- Click the button Create to register company location.
- Fill in the section General with the general location you want to display.
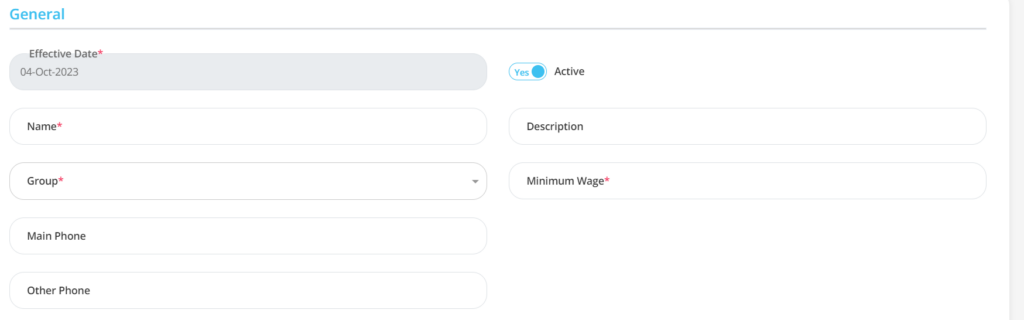
| No | Feature | Information |
| 1 | Effective date | It will automatically be filled after input As of Date according to the location of the location of the location. |
| 2 | Name | Filled no the location of the office that you want to register inside system. |
| 3 | Group | Containing group location which has been made, in the form of LOV. |
| 4 | Main phone | Enter mobile phone number office location to be registered. |
| 5 | Other phone | Enter home telephone number or Mobile phone Other locations, If there are. |
| 6 | Active | • Click Yes, If the office location data is still active and processed in system. • Click No, If the office location data has been not active, then the company will be automatic lost in another menu. |
| 7 | Description | You can fill in the details description from the location to be registered. |
| 8 | Minimum Wage | For the need employee wage standard according to the work location and for the purposes of BPJS Employment. |
- Fill in the section Tax Information with company location.
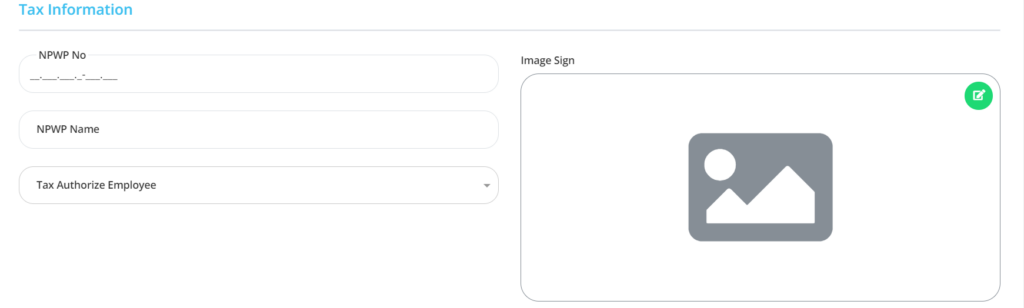
| No | Feature | Information |
| 1 | NPWP No. | Filled with NPWP Number Company. |
| 2 | NPWP Name | Filled with NPWP Name Company. |
| 3 | Tax Authorize Employee | Filled with employee name that will Review/receive tax information Company. |
| 4 | Image Sign | Filled with results scan signature from company tax recipients. |
- Fill in the section Address Information with company location.
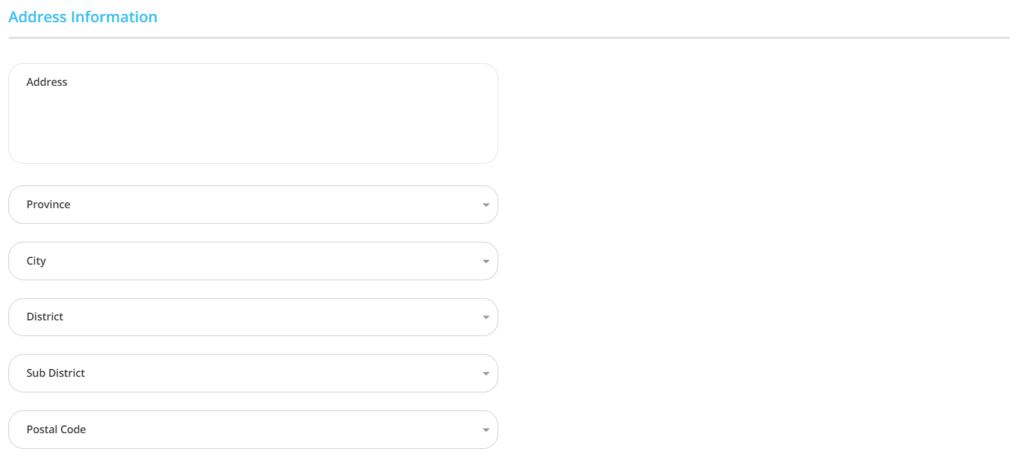
| No | Feature | Information |
| 1 | Address | Filled with a complete address office location. |
| 2 | Province | Filled with province office location, in the form of LOV. |
| 3 | City | Filled with kota office location, in the form of LOV. |
| 4 | District | Filled with regency office location, in the form of LOV. |
| 5 | Sub district | Filled with subdistrict office location, in the form of LOV. |
| 6 | Postal code | Filled with Postal code from the office location. |
- Fill in the section Geographical Information with specific.
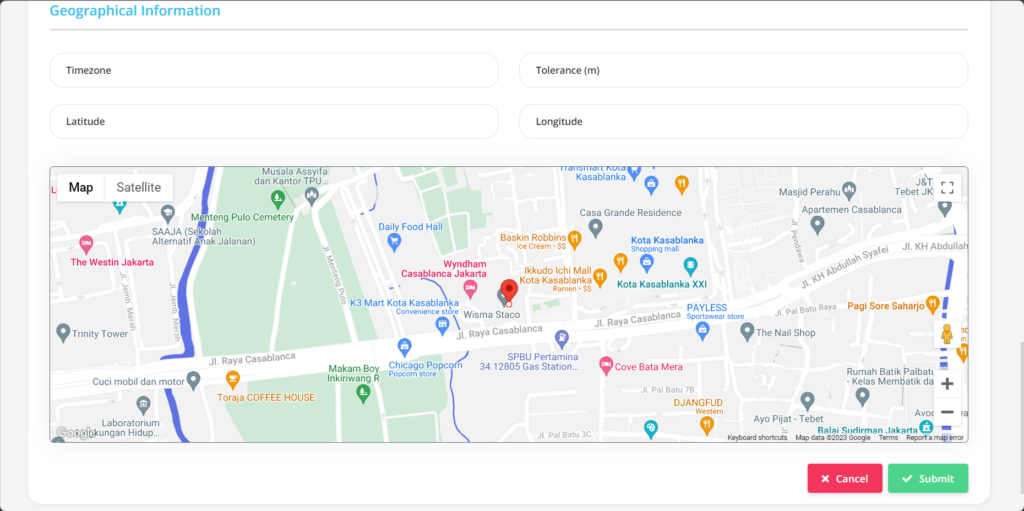
| No | Feature | Information |
| 1 | Timezone | Time zone (For Indonesia, filled 7) |
| 2 | Latitude | Latitude location |
| 3 | Tolerance (m) | Tolerance limit region (in meter size) |
| 4 | Longitude | Longitude location |
- If you have entered all office location information, then the final step is to do it save with a click button “Submit” At the very bottom of the location page.
Read Also :
– How to Add a Company
– How to Create a Company Grade
– How to Add Employee Job Titles
– How to Add an Organization to a Company
– How to Add Employee Position Levels