When you want to do company additions into system, You can register by following the steps below :
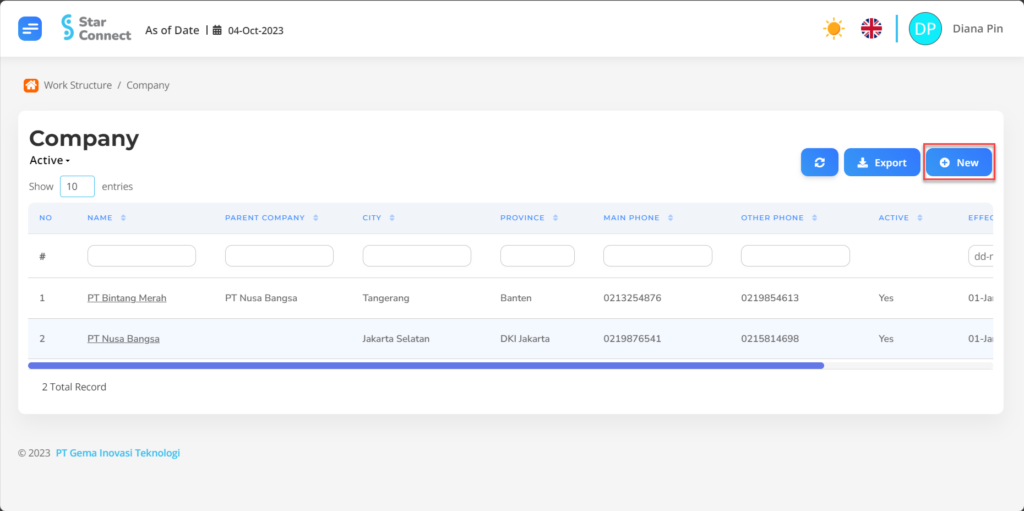
- On the Menu Work Structure → Select Company.

- Click the button Create to register companies that will be associated with employees.
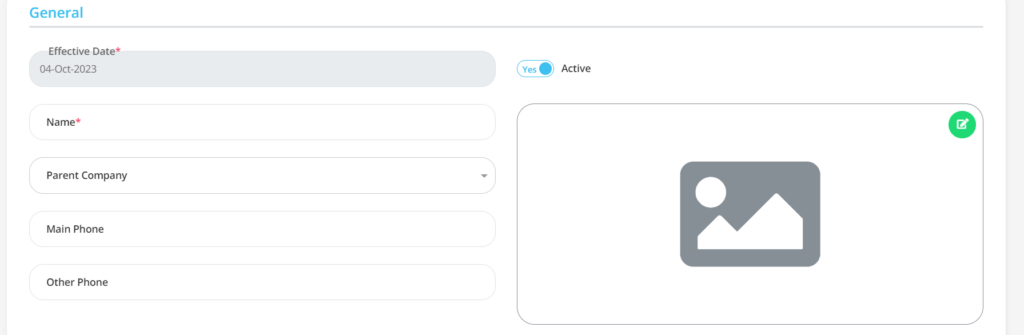
- Fill in the section General with general company information.
| No | Feature | Information |
| 1 | Effective Date | It will automatically be filled after input As of Date according to the effective date of the Company. |
| 2 | Name | Filled no Company you want to register with system. |
| 3 | Parent Company | Containing Parent Company for the Company that you will register, in the form of LOV. |
| 4 | Main Phone | Enter mobile phone number Company. |
| 5 | Other Phone | Enter home telephone number or Mobile phone other companies, If there are. |
| 6 | Active | • Click Yes, if the Company data is still active and processed in system. • Click No, if the Company data is already available not active, then the Company will automatically lost in another menu. |
| 7 | Image | You can upload picture Company according to the company logo. |
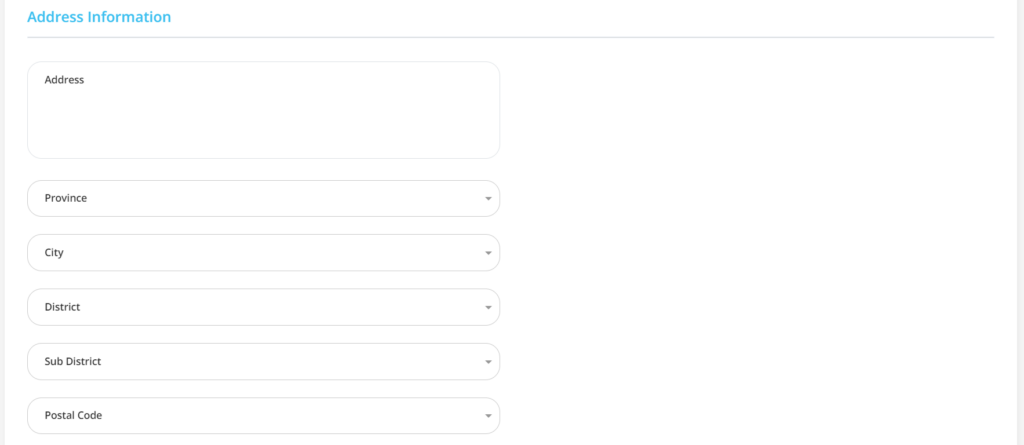
- Fill in the section Address Information with company address information.
| No | Feature | Information |
| 1 | Address | Filled with a complete address Company. |
| 2 | Province | Filled with Province Company location, in the form of LOV. |
| 3 | City | Filled with kota Company location, in the form of LOV. |
| 4 | District | Filled with regency Company location, in the form of LOV. |
| 5 | Sub District | Filled with subdistrict Company location, in the form of LOV. |
| 6 | Postal Code | Filled with Postal code from the Company's location. |
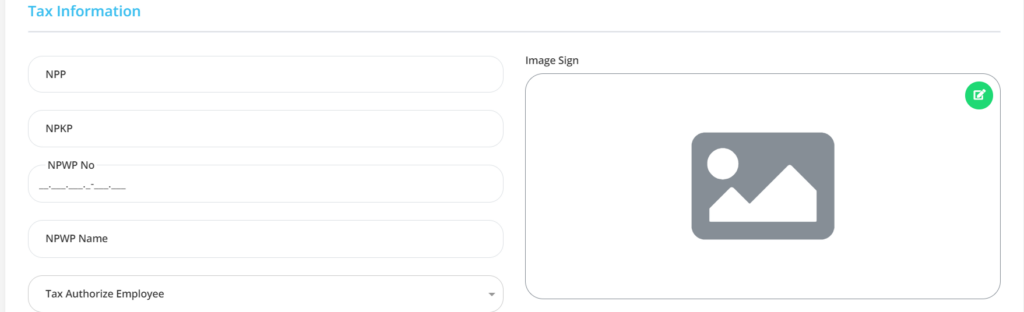
- Isi Tax Information with tax information.
| No | Feature | Information |
| 1 | NPP | Filled with NPP number Company. |
| 2 | NPKP | Filled with NPKP number Company. |
| 3 | NPWP No. | Filled with NPWP Number Company. |
| 4 | NPWP Name | Filled with NPWP Name Company. |
| 5 | Tax Authorize Employee | Filled with employee name that will Review/receive tax information Company. |
| 6 | Image Sign | Filled with results scan signature from company tax recipients. |
- To fill in the section Regulations, click knob Create, then fill in the company regulations.
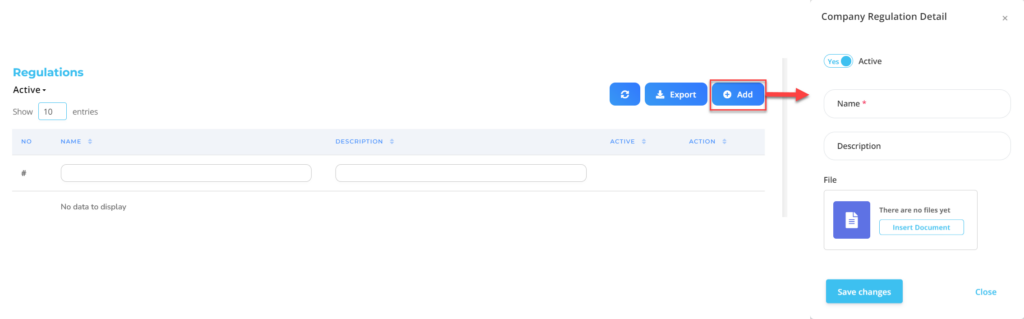
| No | Feature | Information |
| 1 | Active | • Click Yes, if the regulatory data on the Company is still active and processed in system. • Click No, if the Company's regulatory data is in place not active, then the Company will automatically lost in another menu. |
| 2 | Name | Filled with no regulations for the Company that you will register. |
| 3 | Description | Filled with description complete regarding the Company's regulations. |
| 4 | File | Attached file regulations, If there are. |
Do save with a click button “Save Changes” In each part first, then continue by filling in the completeness of other company data.
- Fill in the Bank section with Click knob Create, Fill in the bank data used by the company : Bank Name, Bank Branch Name, Bank Account Number, Company Bank account name.
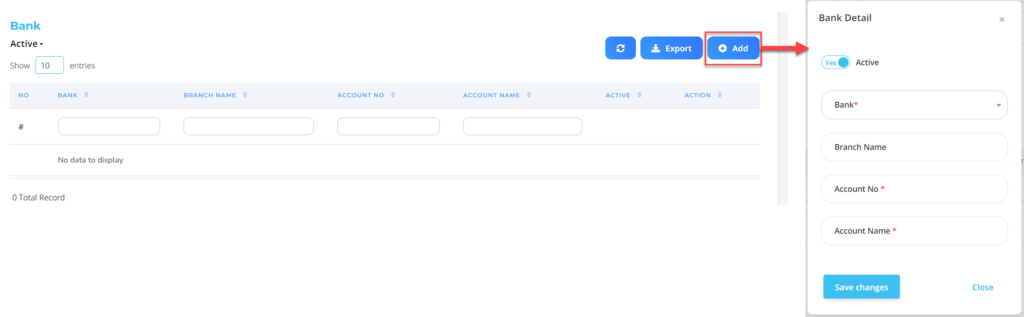
| No | Feature | Information |
| 1 | Active | • Click Yes, if the bank data for the Company is still there active and processed in system. • Click No, if the Company's bank data is available not active, then the Company will automatically lost in another menu. |
| 2 | Bank | Enter no Bank registered for the Company. |
| 3 | Branch Name | Filled with branch office name Bank registered for the Company. |
| 4 | Account No | Enter account number Bank to be registered for the Company. |
| 5 | Account Name | Enter account name Bank to be registered for the Company. |
Do save with a click button “Save Changes” In each part first, then continue by filling in the completeness of other company data.
- If you have entered all the Company information, then the final step is to do it save with a click button “Submit” at the very bottom of the Company page.
Read Also :
– How to Add a Company Location
– How to Create a Company Grade
– How to Add Employee Job Titles
– How to Add an Organization to a Company
– How to Add Employee Position Levels