When you want input COA (Chart of Accounts) into system, You can do that by following the steps below :
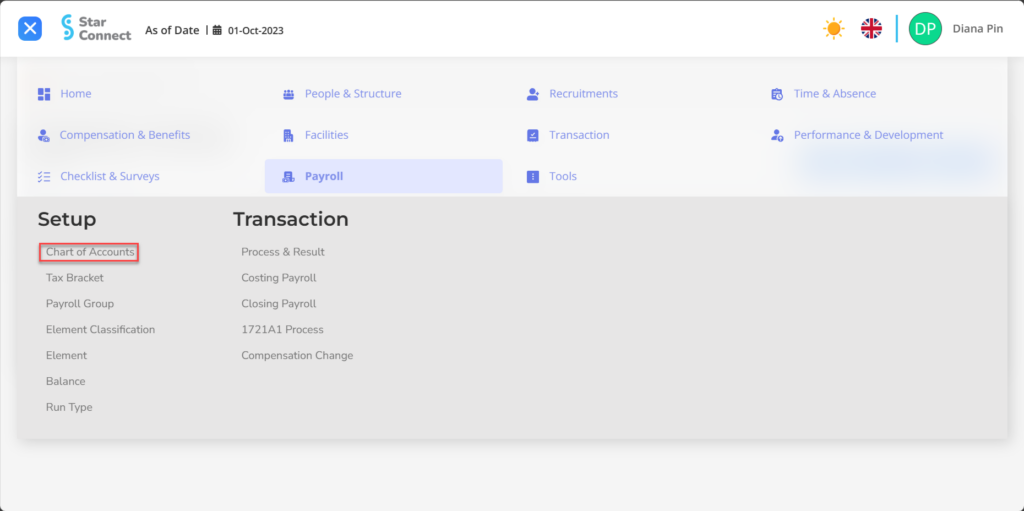
- On the Menu Payroll → Select Chart of Accounts.
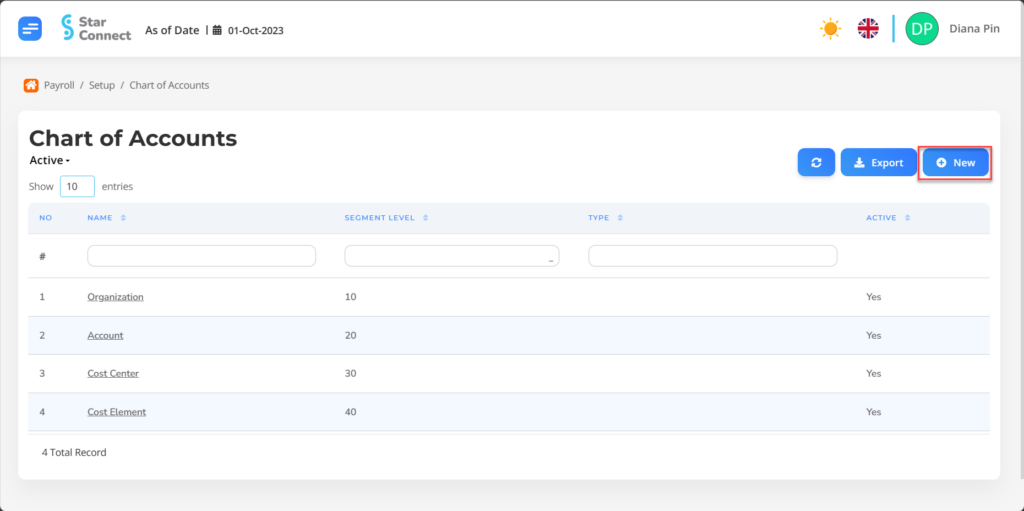
- Click the button New to register the company's Chart of Accounts.
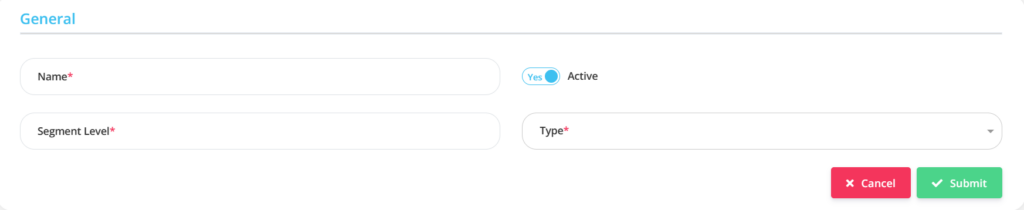
- Fill in the section Compensation Change with the Chart of Accounts you want to set.
| No | Feature | Information |
| 1 | Name | Type filled no Chart of Accounts to be created. |
| 2 | Segment Level | Filled with Segment Level for the Chart of Accounts, then it will came first the costing process. |
| 3 | Active | • Click Yes, if the Chart of Accounts data is still active and processed in system. • Click No, if the Chart of Accounts data is complete not active, then the Chart of Accounts data will be automatic lost in another menu. |
| 4 | Type | Filled with Type which is appropriate. |
- If you have entered all the Chart of Accounts information, then the final step is to do it save with a click button “Submit” at the very bottom of the Chart of Accounts page.
Read Also :
– How to Process 1721A1 Taxes for Employees
– How to Make a Tax Bracket
– How to Group Payroll
– How to Classify Elements in the Payroll Process
– How to Create Elements in the Payroll Process