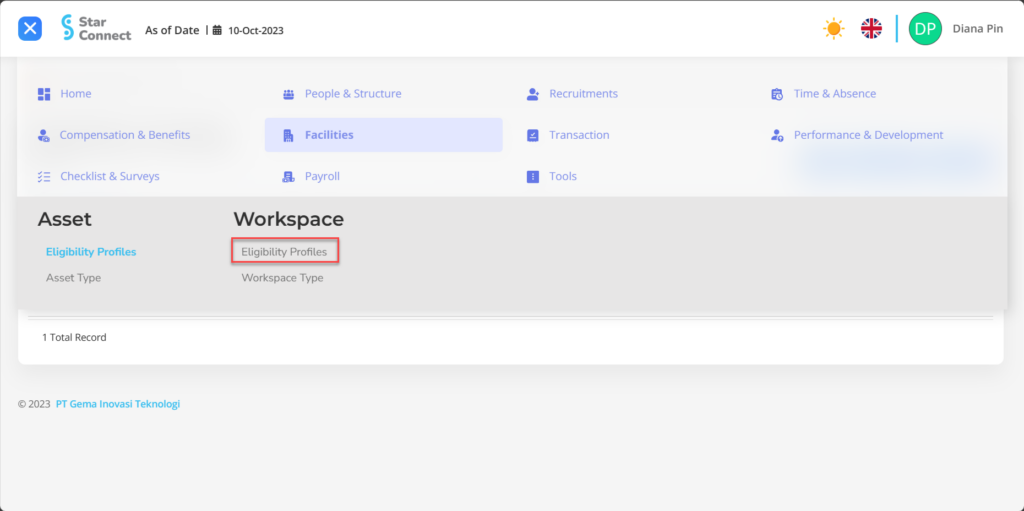
If you want Registering the type of special workspace provided by the company into system, You must Make a type of grouping of employees who will use the room said first.
Employee grouping registration can be made at Eligibility Profiles on the workspace menu, and registration of the type of special workspace can be made with Workspace Type on the workspace menu.
In this section, You can learn :
1. How to create Eligibility Profiles.
2. How to make a workspace type.
1. How to Create Eligibility Profiles.
- On the Menu Workspace → Select Eligibility Profiles.
- Click the button New To register Eligibility Profiles in the Workspace menu.
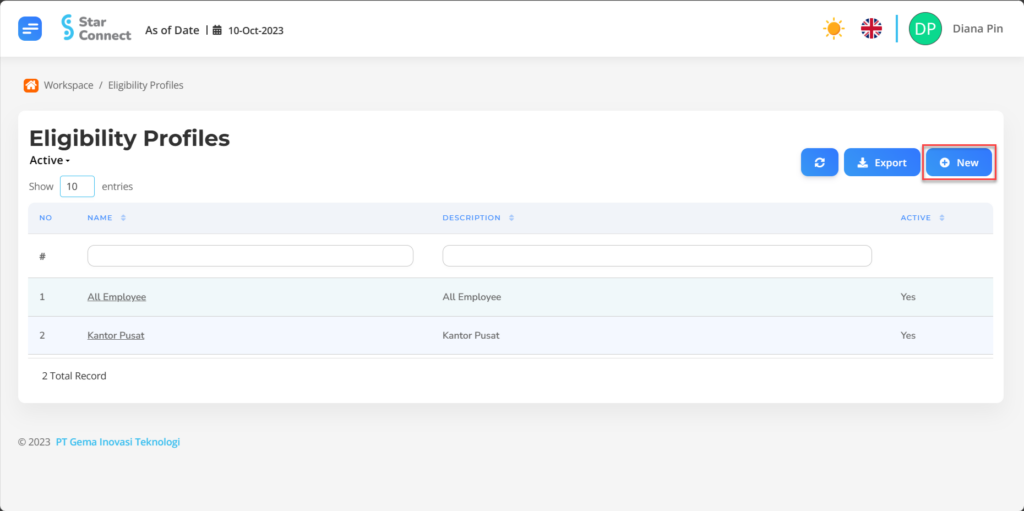
- In part General, isi with the type of Eligibility Profiles you want to display.

| No | Feature | Information |
| 1 | Name | Filled with no Eligibility Profiles. |
| 2 | Description | Filled with description Eligibility Profiles. |
| 3 | Active | • Click Yes, if the Eligibility Profiles type is still active and processed in system. • Click No, if the Eligibility Profiles type is already in place not active, then the Eligibility Profiles type will be automatic lost in another menu. |
- In part Criteria, click the button “Add”, and continue by filling in the employee criteria for borrowing the company's workspace that will be used to each type of employee.
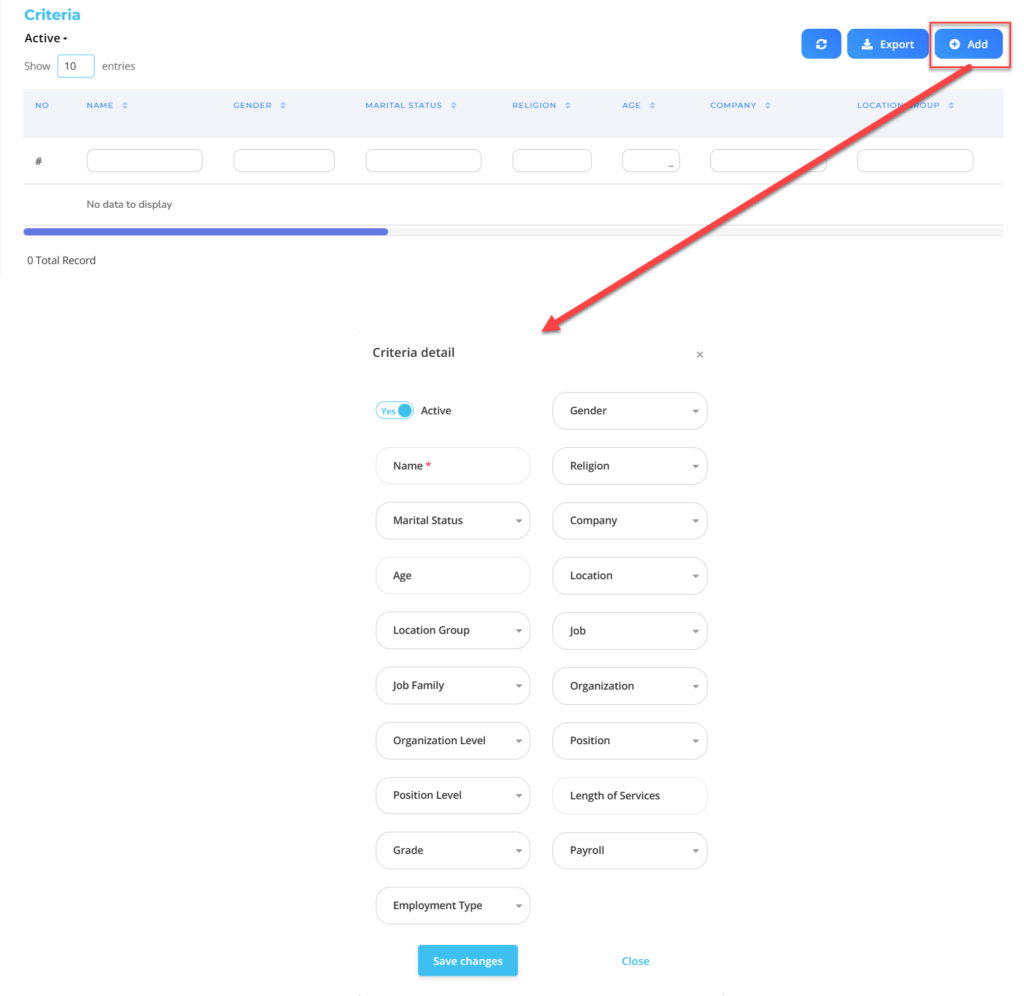
| No | Feature | Information |
| 1 | Active | • Click Yes, If the Eligibility Profile details for the workspace are still active and processed in system. • Click No, If the Eligibility Profile details for the Workspace are already not active, then the Eligibility Profile Detail Data for the Workspace will be automatic lost in another menu. |
| 2 | Name | Filled no Eligibility Profile for grouping of company workspace. |
| 3 | Marital Status | Filled with details marital status which will be included in the Eligibility Profile. |
| 4 | Age | Filled with details age which will be included in the Eligibility Profile. |
| 5 | Location Group | Filled with details Location Group which will be included in the Eligibility Profile, in the form of LOV. |
| 6 | Job Family | Filled with details Job Family which will be included in the Eligibility Profile, in the form of LOV. |
| 7 | Organization Level | Filled with details Organization Level which will be included in the Eligibility Profile, in the form of LOV. |
| 8 | Position Level | Filled with details Position Level which will be included in the Eligibility Profile, in the form of LOV. |
| 9 | Grade | Filled with details Grade which will be included in the Eligibility Profile, in the form of LOV. |
| 10 | Employment Type | Filled with details Employment Type which will be included in the Eligibility Profile, in the form of LOV. |
| 11 | Gender | Filled with details gender which will be included in the Eligibility Profile, in the form of LOV. |
| 12 | Religion | Filled with details religion which will be included in the Eligibility Profile, in the form of LOV. |
| 13 | Company | Filled with details Company which will be included in the Eligibility Profile, in the form of LOV. |
| 14 | Location | Filled with details Location which will be included in the Eligibility Profile, in the form of LOV. |
| 15 | Job | Filled with details Job which will be included in the Eligibility Profile, in the form of LOV. |
| 16 | Organization | Filled with details Organization which will be included in the Eligibility Profile, in the form of LOV. |
| 17 | Position | Filled with details Position which will be included in the Eligibility Profile, in the form of LOV. |
| 18 | Length of Services | Filled with details minimum working hours Eligible employees are included in the Eligibility Profile, in the form of LOV. |
| 19 | Payroll | Filled with details Payroll which will be included in the Eligibility Profile, in the form of LOV. |
Do save with a click button “Save Changes” in the detailed Criteria section first, then continue by filling in the other complete Eligibility Profiles data.
- If you have entered all the Eligibility Profiles information, then the final step is to do it save with a click button “Submit” at the very bottom of the Eligibility Profiles page.
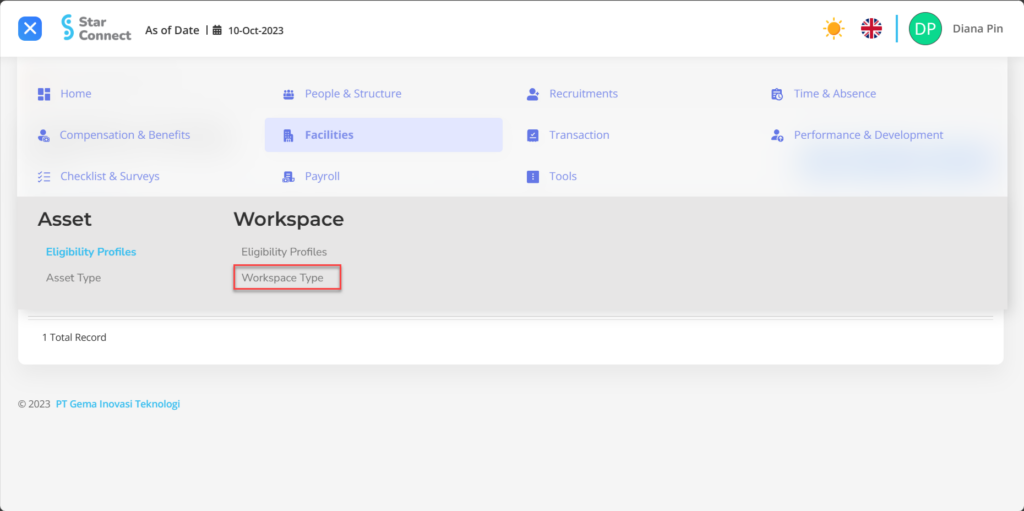
2. How to Make a workspace type.
- On the Menu Workspace → Select Workspace Type.
- Click the button New to register a workspace type.
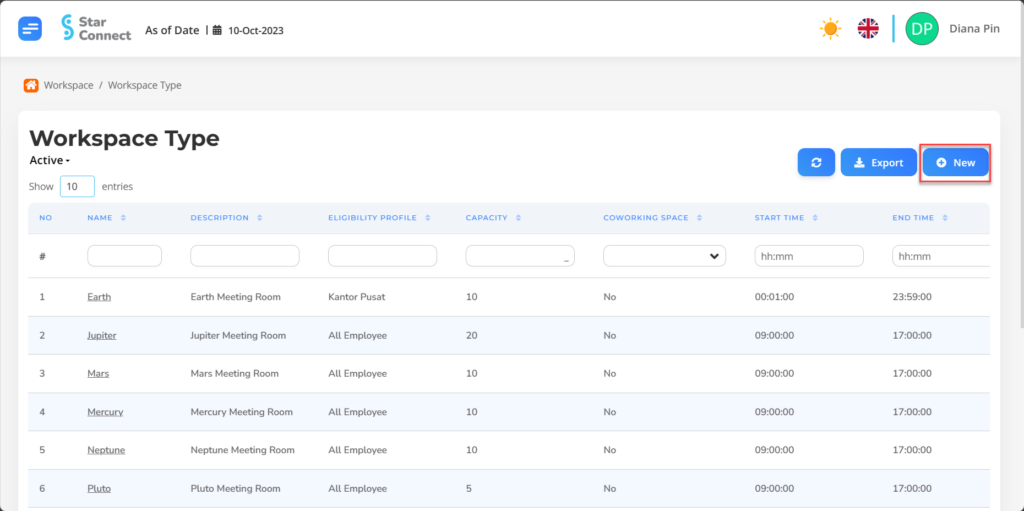
- In part General, isi with the type of workspace that you want to display.
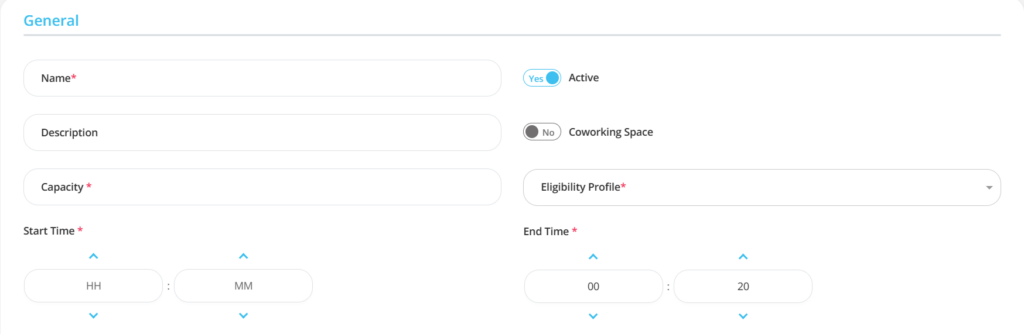
| No | Feature | Information |
| 1 | Name | Filled with nama Shift. |
| 2 | Description | Filled with Shift description. |
| 3 | Capacity | Filled with number of employees who will use the working space room. |
| 4 | Start Time | Initial start time Borrowing Working Space. |
| 5 | Active | • Click Yes, If the working space is still active and processed in system. • Click No, if the working space has been not active, then the Shift name will be automatic lost in another menu. |
| 6 | Coworking Space | • Click Yes, If the coworking space is can Sharing/used by other employees. • Click No, If the coworking space is can not Sharing/used personally. |
| 7 | Eligibility Profile | Filled with groupings Eligibility Profile Employees who will use Working Space. |
| 8 | End Time | End time Borrowing Room Working Space. |
- If you have entered all the workspace information, then the final step is to do it save with a click button “Submit” At the bottom of the workspace page.
- If you have succeeded submit To register a workspace, then the list will appear on the Booking List page in the form of a type of workspace and employees who will use it.

Read Also :
– How to Register Company Asset Types
– A Glance at the Transaction Menu
– How to Manage Goals
– How to Manage Performance
– How to Create an Employee Checklist Template