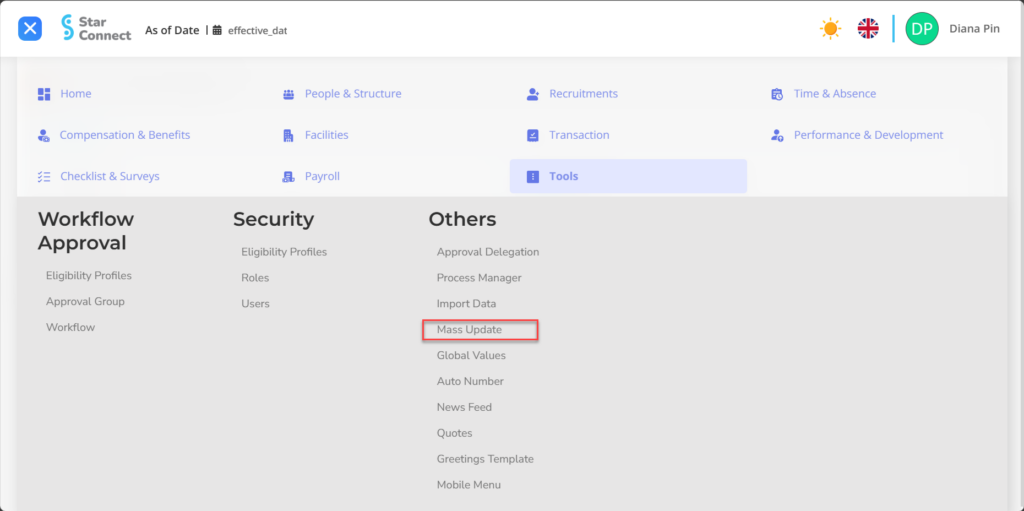
When you want make changes to employee assignments in large numbers at once, You can use Mass Update On the Tools menu by following the following steps :
On the Menu Tools → Select Mass Update.
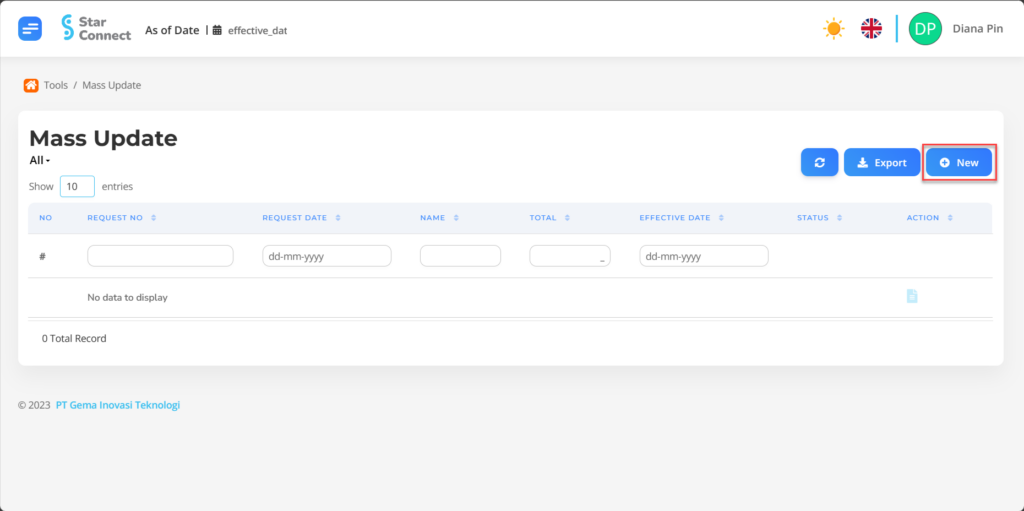
Click the button New to make a Mass Update.
Fill in the section General with the name of the Mass Update you want to create.
No
Feature
Information
1
Effective Date
Filled with effective date Mass Update.
2
Name
Filled with no Mass Update.
3
Total
It will automatically fill in after successfully carrying out the Mass Update in the form of number of employees the ter-updated.
4
Status
It will automatically fill in after successfully carrying out the Mass Update in the form of status the ter-updated.
In part Criteria, Fill in the criteria for the previous assignment data that will be changed.
No
Feature
Information
1
Company
Enter Company employee, in the form of LOV.
2
Location
Enter work location employee, in the form of LOV.
3
Job Family
Enter Job Family employee, in the form of LOV.
4
Organization Level
Enter Organization Level where the employee is placed, in the form of LOV.
5
Position Level
Enter Position Level employee, in the form of LOV.
6
Manager
Enter nama Manager employee, in the form of LOV
7
Location Group
Enter Work group location employee, in the form of LOV.
8
Grade
Enter Grade employee, in the form of LOV.
9
Job
Enter Job employee, in the form of LOV.
10
Organization
Enter organization where the employee is placed, in the form of LOV.
11
Position
Enter position employee, in the form of LOV.
12
Attendance Group
Enter Attendance Group employee, in the form of LOV.
In part New Assignment, Fill in the employee's latest assignment change data.
No
Feature
Information
1
Action
Enter Action change appropriate to the changes to be made.
2
Position
Enter change of position employee, in the form of LOV.
3
Job
Enter latest job changes employee, in the form of LOV.
4
Location
Enter change of work location employee, in the form of LOV.
5
Organization
Enter organizational change where the employee is placed, in the form of LOV.
6
Action Reason
Enter reason for change action, If there are.
7
Grade
Enter Grade change employee, in the form of LOV.
8
Payroll Group
Enter Payroll Group changes employee, in the form of LOV.
9
Attendance Group
Enter change of entry schedule employees according to the attendance group that has been created, in the form of LOV.
10
Manager
Enter change of Manager which will cover employees, in the form of LOV.
If you have entered all the Mass Update information, then the final step is to do it save with a click button“Submit” at the very bottom of the Mass Update page.