Menu for easy settings, planning and collecting business trip travel data for the company.
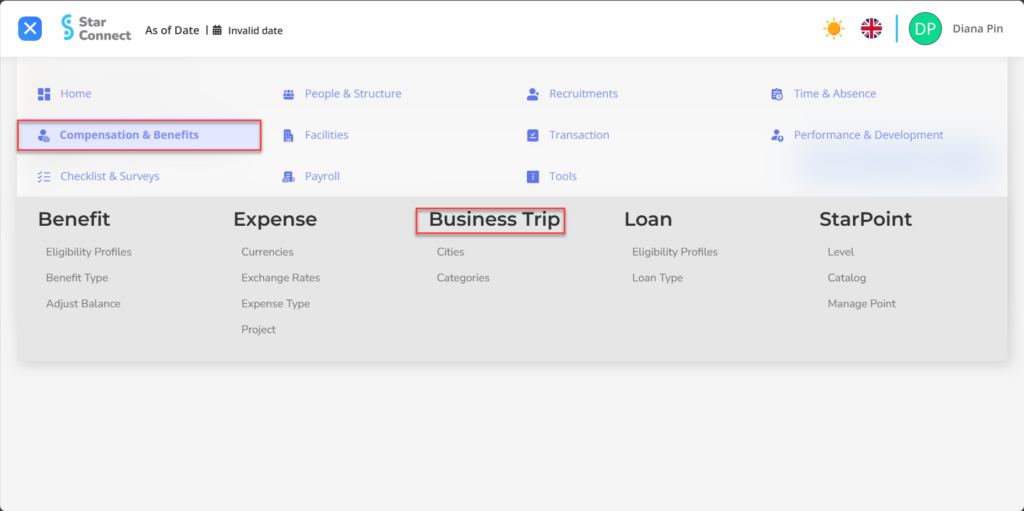
On the admin menu, select the Business Trip menu :
City
1. On the Business Trip Menu → Select City.

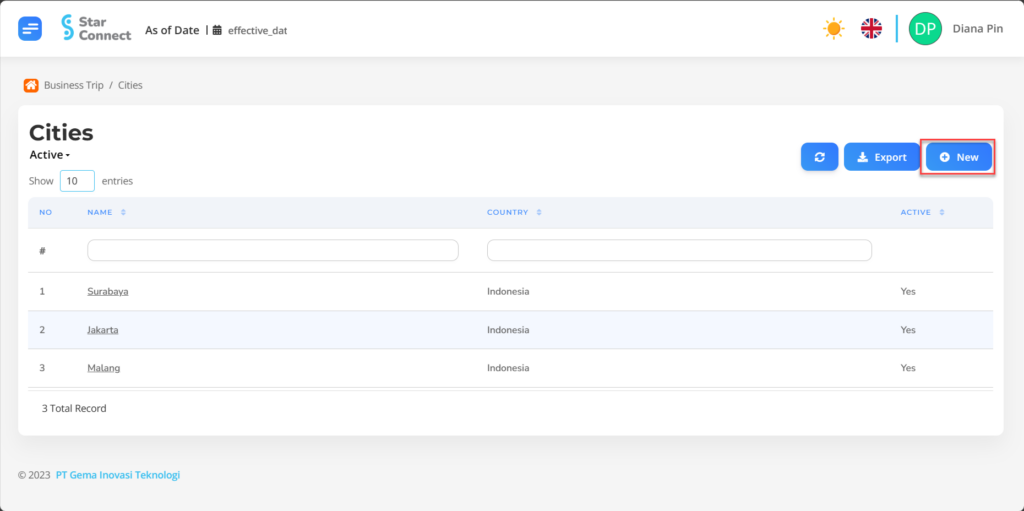
2. Click the button New to register the City on the Business Trip menu.
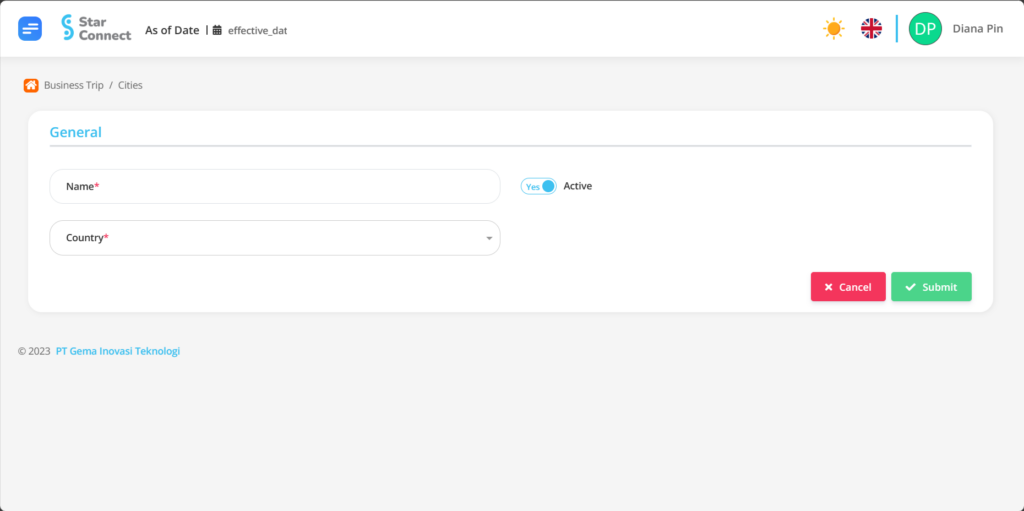
3. In the general section, Fill in the details of the city you want to add.
| No | Feature | Information |
| 1 | Name | Fill in the name of the city you want to create. |
| 2 | Country | Select the country of origin of the city you want to add. |
| 3 | Active | Click Yes, if the City wants to be active and processed in system. Click No, if you want to deactivate the City, then the city name will automatically disappear in other menus. |
4. If you have entered all the City information , then the final step is to do it save with a click button  at the very bottom of the City page.
Categories
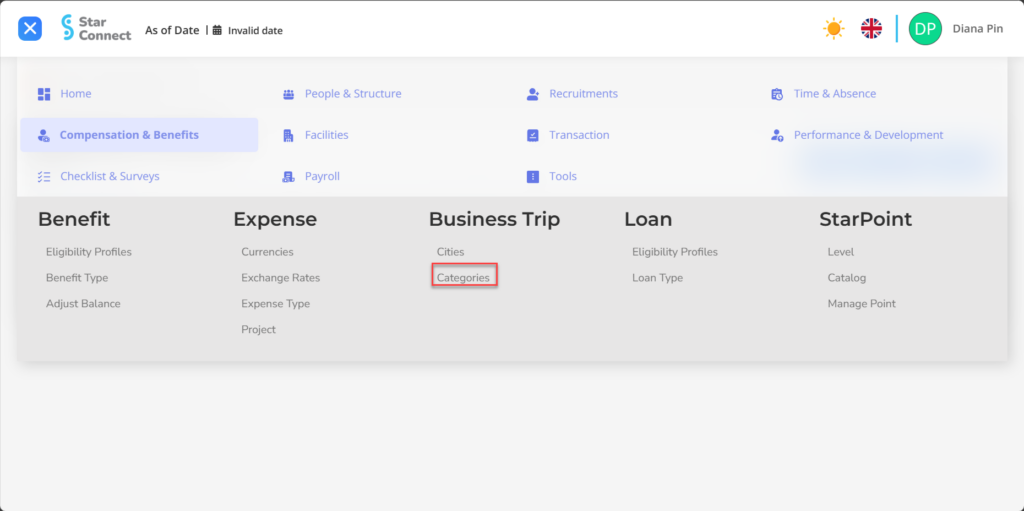
1. On the Business Trip Menu → Select Categories.
2. Click the button New to register a Category on the Categories menu.
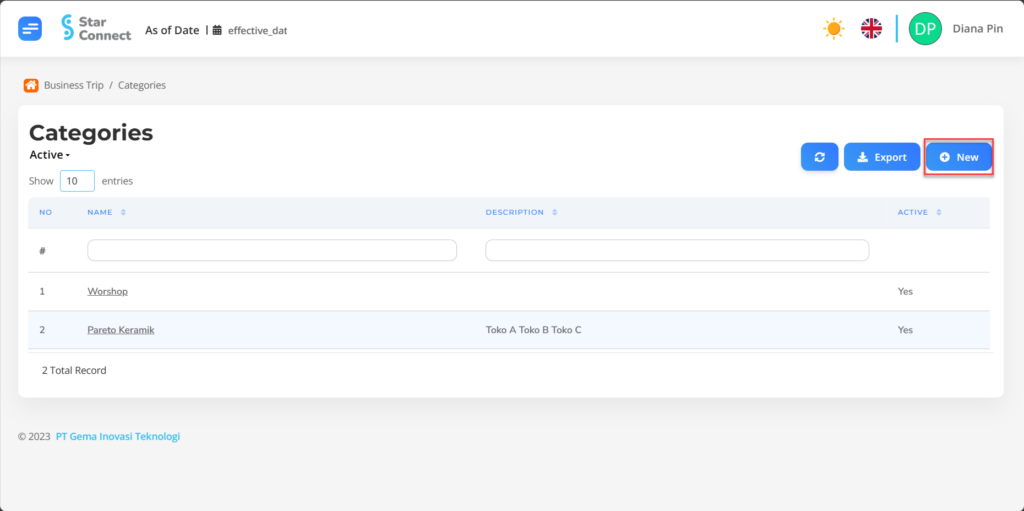
3. In the general section, Fill in the type of Category you want to add.

| No | Feature | Information |
| 1 | Name | Fill in the name of the Category you want to create. |
| 2 | Description | Fill in the Category description. |
| 3 | Active | Click Yes, if you want to activate Category on system. Click No, if you want to deactivate Category, then it will automatically not be displayed on the menu. |
4. Click the button Add to register a SubCategory on the Categories menu.
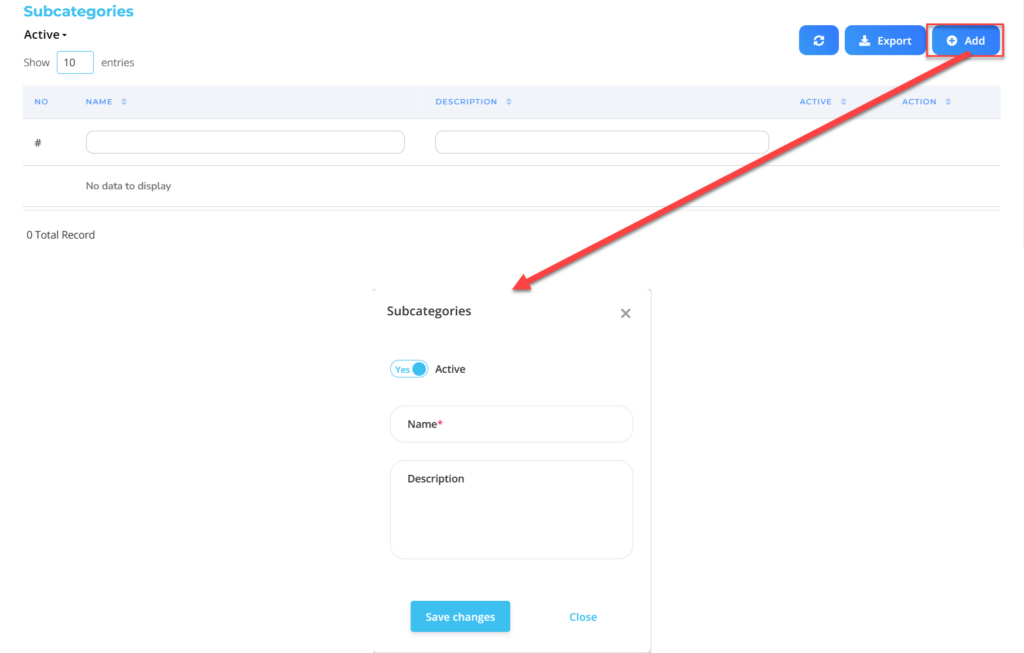
| No | Feature | Information |
| 1 | Active | Click Yes, if you want to activate Subcategories in system. Click No, if you want to deactivate it, then Subcategories will automatically not be displayed on the menu. |
| 2 | Name | Fill in the SubCategory name. |
| 3 | Description | Fill in the SubCategory description. |
6. Do save with a click button  in the SubCategory section first, then continue by filling in the complete data for the other categories.
7. If you have entered all the Category information , then the final step is to do it save with a click button at the very bottom of the Categories page.